Hi! I’m Amine Ilidrissi (@realaminevg) from the Sreake team.
These days, I mainly do client work, which means I have to think a lot about security and onboarding.
When developing locally, it can be difficult to ensure everyone on my team uses a secure development environment, and that every new team member gets started quickly.
This is where Google Cloud Workstations come in. Built for security and replicability, we use them a lot and couldn’t be happier with them.
In this article, we’ll cover:
- What Google Cloud Workstations are, and why use them
- How to set up your own Cloud Workstation
- How to connect to your Cloud Workstation, either from your browser or your local IDE
We’ll also go beyond the official documentation! I’ll show you a quick way of starting your Cloud Workstation from your local IDE. Strap in!
What are Google Cloud Workstations and why use them?
Let’s look at the official explanation for Google Cloud Workstations:
Fully managed development environments built to meet the needs of security-sensitive enterprises. [Google Cloud Workstations] enhances the security of development environments while accelerating developer onboarding and productivity, including a native integration with Gemini for Google Cloud.
What this means is:
- You get a secure development environment that you can log on to from anywhere.
- Everyone gets that same development environment.
- You can use Gemini in your development environment for AI-powered development.
In a way, this is similar to other products such as Github Codespaces or Google’s own Firebase Studio. The difference lies, then, in customization:
- Setting your instance type beyond a few presets
- Securing your team’s environment through IAM
- Using code editors other than the default one (often only available in the browser)
- And a lot more!
Other products offer an out-of-the-box experience that helps you get started quickly, but the above customizations are simply out of the question.
Google Cloud Workstations, on the other hand, takes a bit longer to get started, but lets you completely customize your environment.
Set up your own Cloud Workstation
Ready to have your very own Google Cloud Workstation? We’ll guide you through the steps of setting up a workstation cluster and a workstation configuration, then you’ll be able to create a workstation.
Prerequisites
- Make sure you have a GCP account and project set up.
- Make sure you enable the Cloud Workstations API.
Step 1: Create a workstation cluster
A workstation cluster manages multiple workstations in a Google Cloud region. You will only have to create a cluster once per region.
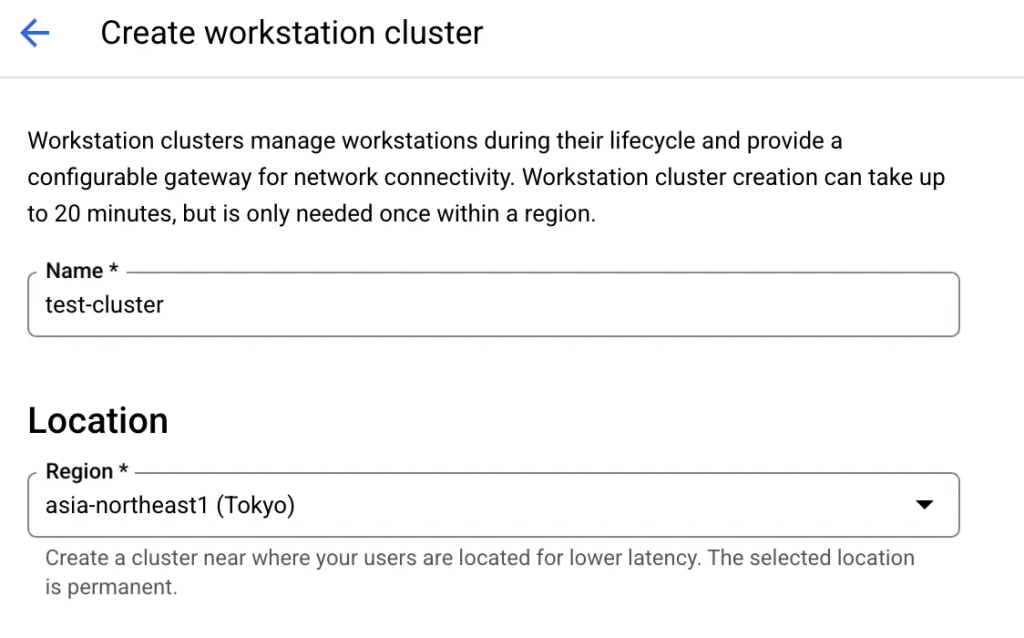
Go to the Cloud Workstations Cluster Management page and create a new cluster; we’ll call it “test-cluster”.
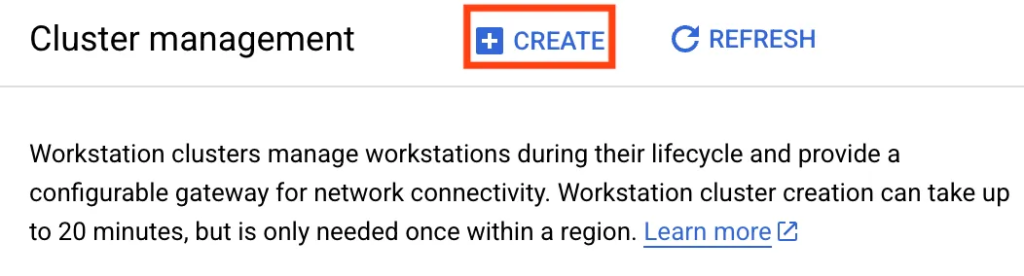
Wait for your cluster to be created; this can take up to 20 minutes!
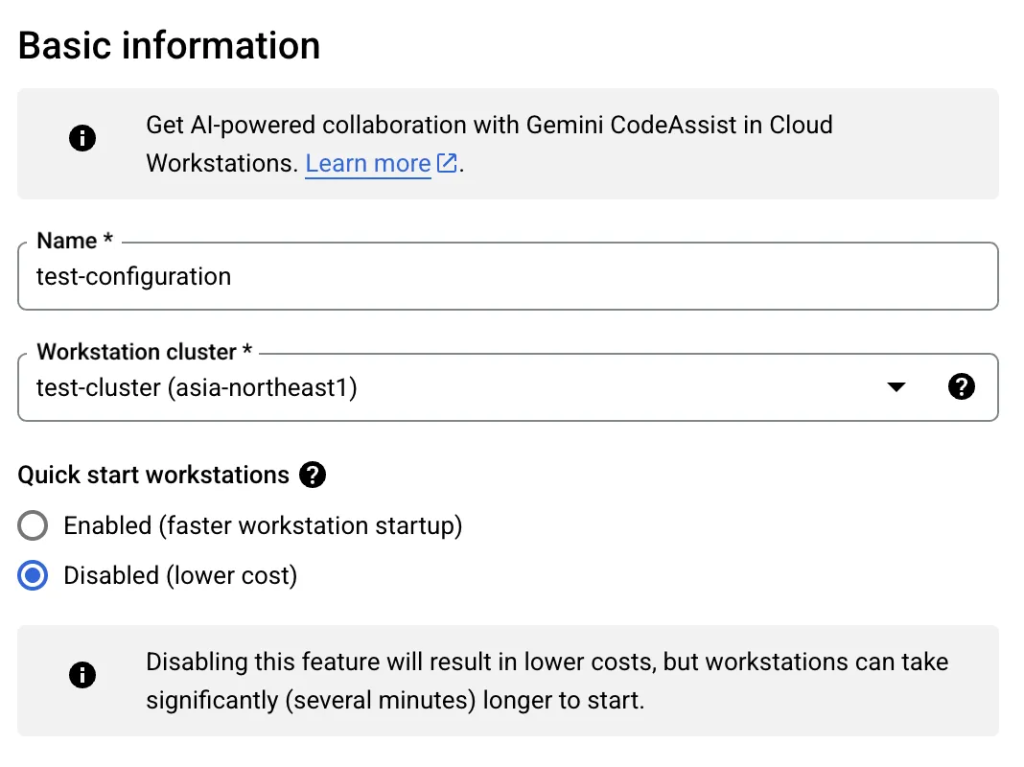
Step 2: Create a workstation configuration
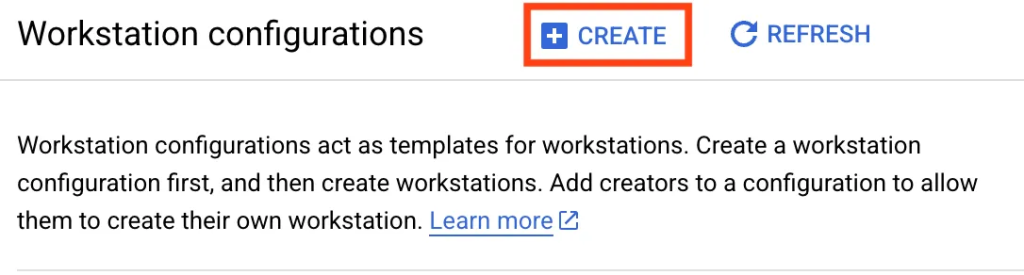
A workstation configuration is a template for your workstation. It allows you to uniformly set machine types, disk size, container images, etc. across your team.
For the sake of simplicity, we’ll go with the default settings, but feel free to consult the documentation for more options!
To create a new configuration, go to the Cloud Workstations Configuration page and press the “Create” button.
We’ll call our configuration “test-configuration” and use the cluster we’ve created previously (test-cluster).
Step 3: Create a workstation
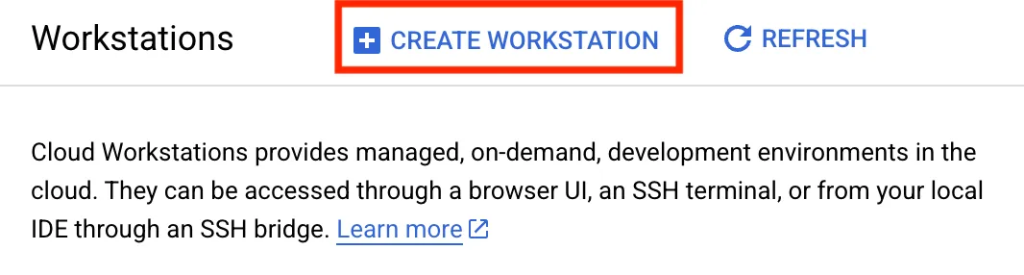
You’re now ready to create your workstation!
Press the “Create Workstation” button on the Cloud Workstations List page:
Name your workstation “test-workstation”, and use the configuration you’ve created previously (test-configuration).
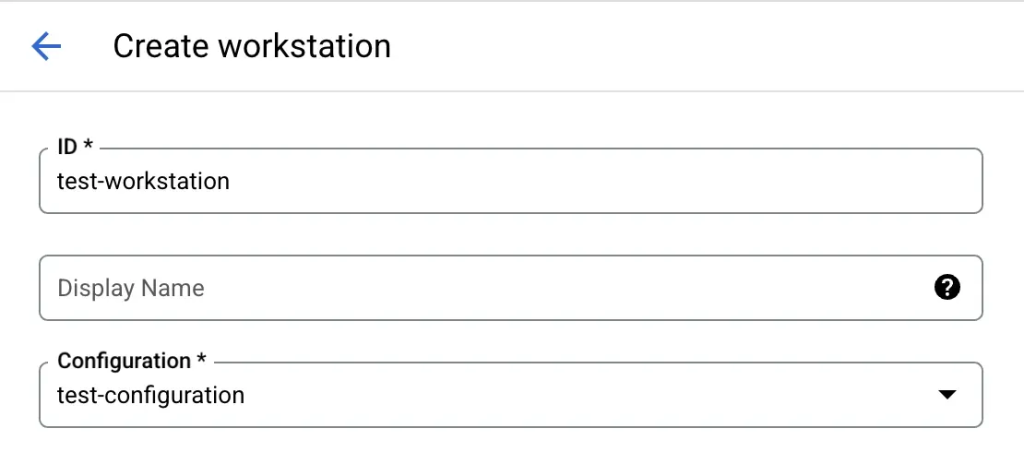
Press the Create button and your workstation will now be created! 🎉
Connect to your Cloud Workstation
Let’s go through how to connect to your Cloud Workstation, either through your browser or your local IDE.
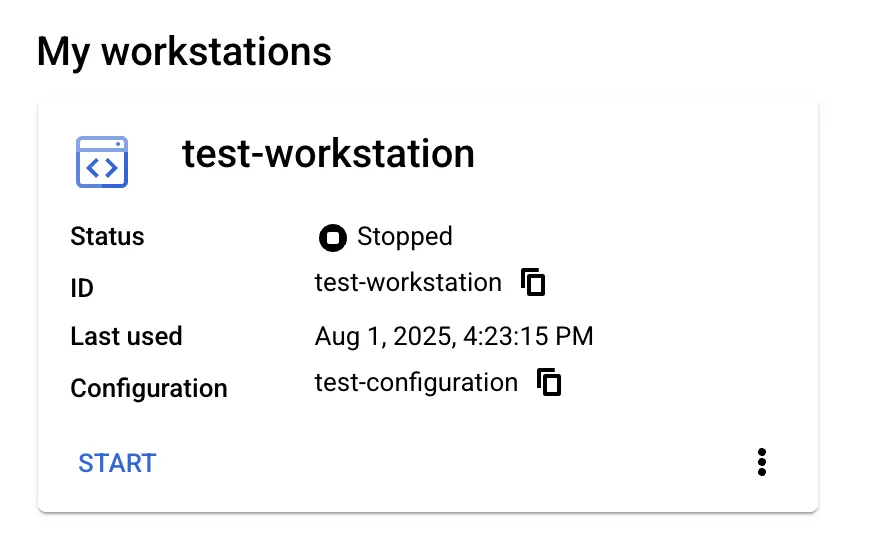
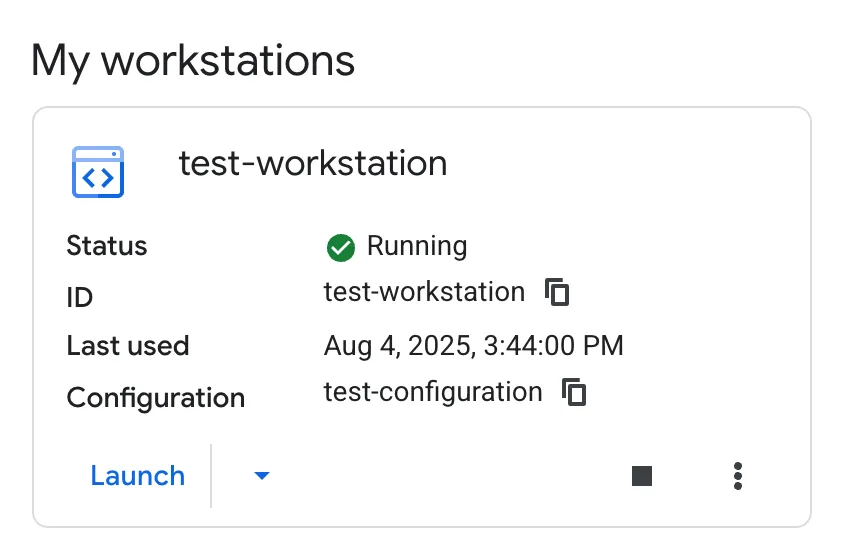
We first have to start the workstation by pressing the “Start” button on the Cloud Workstations List page. The workstation should then show up as started.
From your browser
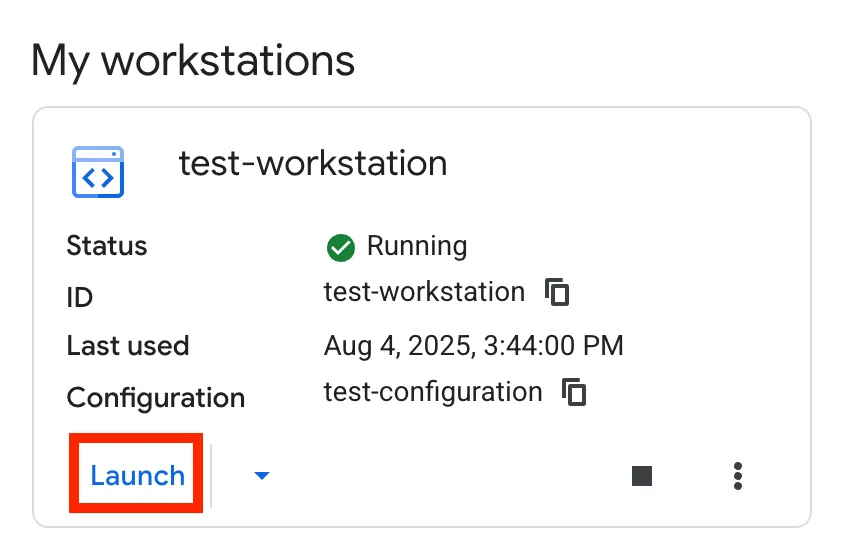
Press the “Launch” button that just popped up when you started your workstation:
A code editor should now launch on your browser. If this looks familiar, that’s because this editor is based on Code-OSS, the open source version of VSCode!
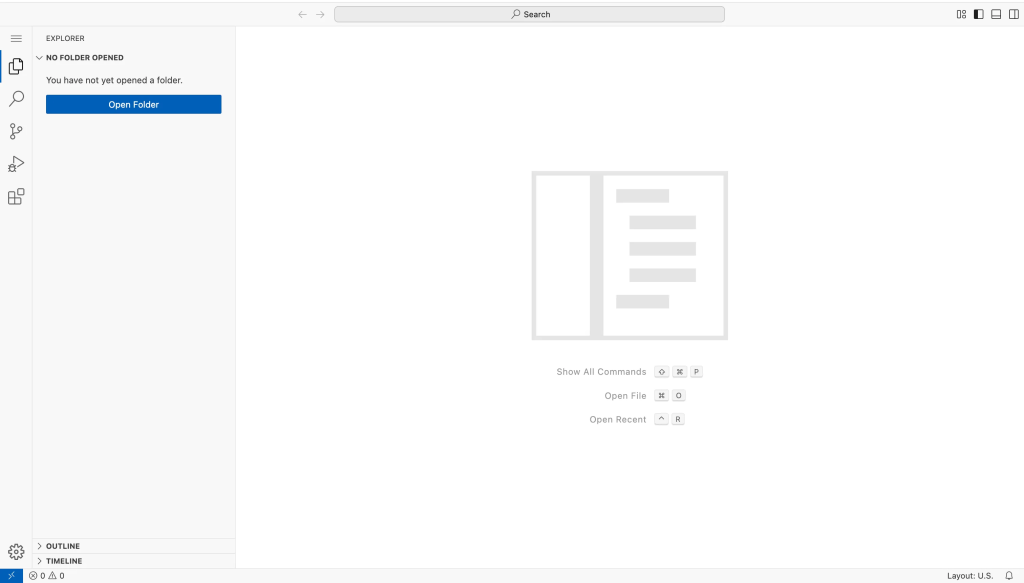
From here, you can clone repositories, execute programs, etc. just as you would on a regular machine!
From your local IDE
If you prefer, you can also connect to your workstation through your local IDE! Let’s go through the official documentation to get started.
(We will only be covering VS Code-based editors, but you can also use JetBrains IDEs!)
Make sure you’ve gone through the following steps first:
- Start your workstation.
- Install the gcloud CLI.
- Install the Remote – SSH VS Code extension locally.
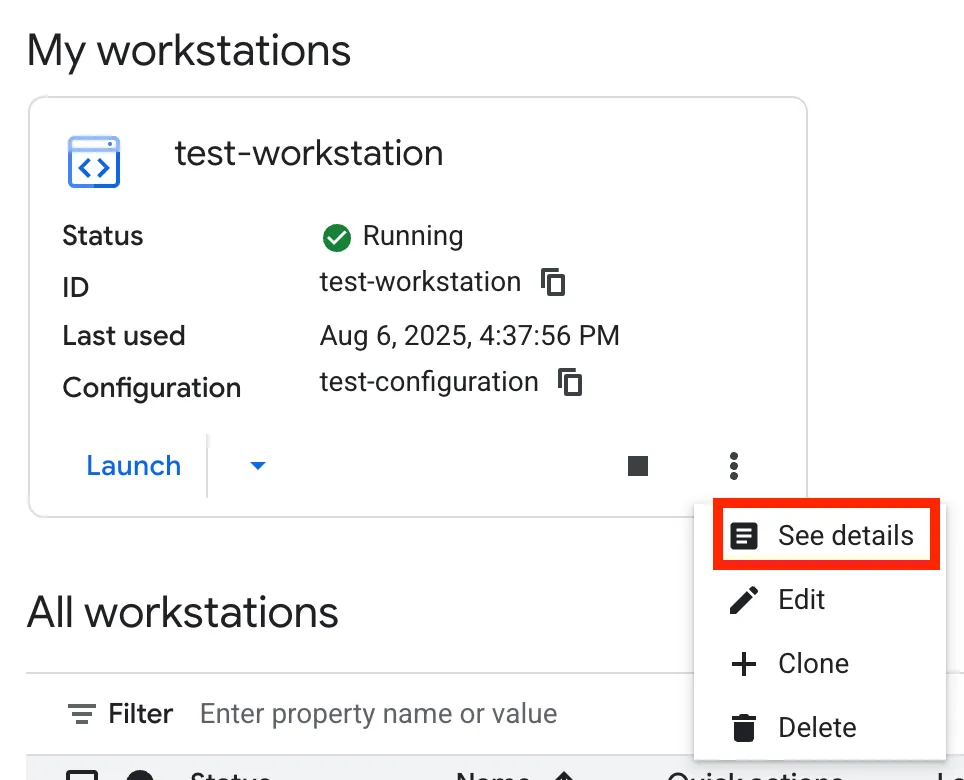
To begin, let’s look up your workstation name. You can do so by clicking on the “See details” link on the Cloud Workstations List page:
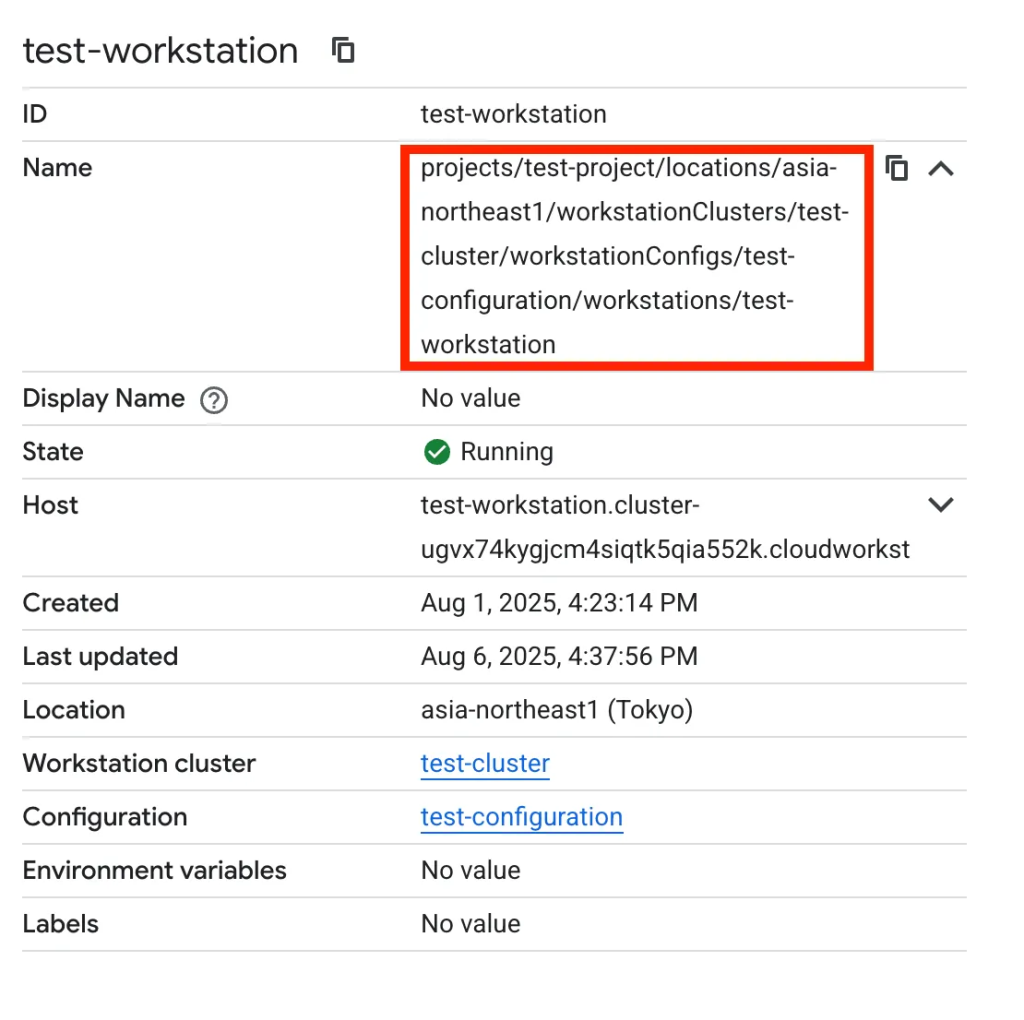
Next, execute the following command: (don’t forget to put in your workstation name!)
gcloud workstations start-tcp-tunnel --local-host-port=:9998 <YOUR_WORKSTATION_NAME> 22
This will open a TCP tunnel on port 9998 from your local machine to your workstation. If everything goes well, you should get the following output:
Listening on port [9998].
You can now use this TCP tunnel to connect to your workstation from your local IDE! Follow the VS Code instructions on connecting to a remote host, and enter user@localhost:9998 as the remote host.
Start your Cloud Workstation from your local IDE
We’ve covered how to connect to your workstation through your local IDE. But what if there was a better way?
Right now, you need to go through three steps to connect to your workstation:
- Start your workstation from the Cloud Workstations List page
- Execute the
gcloud workstations start-tcp-tunnelcommand on your terminal - Connect to your workstation through your local IDE
Three steps may not seem like much, but another problem is that you need to operate on three different programs: your web browser, your terminal, and your IDE! And everyone knows context switching is never great.
To solve this, let’s go beyond the official documentation and automate the whole process! You’ll then be able to connect to your workstation in one simple step.
Step 1: Automate the whole process using a script
Here’s a script that automates the whole process of starting the workstation and creating the TCP tunnel. Put it in your SSH configuration directory. We’ll assume you put it in ~/.ssh/workstation-startup.sh .
GCP_WORKSTATION_NAME="$1"
GCP_TUNNEL_HOST="$2"
GCP_TUNNEL_PORT="$3"

trap 'kill "$jpid" 2>/dev/null' EXIT

>&2 echo "Starting server..."

gcloud workstations start $GCP_WORKSTATION_NAME 2> /dev/null

>&2 echo "Server is ready!"

>&2 echo "Starting TCP tunnel..."

gcloud workstations start-tcp-tunnel --local-host-port=$GCP_TUNNEL_HOST:$GCP_TUNNEL_PORT $GCP_WORKSTATION_NAME 22 2> /dev/null &
jpid="$!"

until nc -z $GCP_TUNNEL_HOST $GCP_TUNNEL_PORT 2>/dev/null; do
    sleep 1
done

>&2 echo "Started tunnel on host $GCP_TUNNEL_HOST and port $GCP_TUNNEL_PORT"

nc $GCP_TUNNEL_HOST $GCP_TUNNEL_PORT
Let’s go through what this script does:
- Starts the workstation (
gcloud workstations start). - Opens a TCP tunnel in the background (
gcloud workstations start-tcp-tunnel). - Waits until the TCP tunnel is open by polling it every second (
until nc ...). - Using the netcat (
nc) command to forward the TCP connection to SSH.
Step 2: Change SSH settings
You will need to use this script when connecting to your workspace. Open your SSH configuration (usually at ~/.ssh/config ) and add the following block:
Host gcp-cloud-workstation # Any host name is fine
  HostName localhost
  Port 9998 # Any port is fine
  User user
  StrictHostKeyChecking no
  UserKnownHostsFile /dev/null
  ConnectTimeout 0
  ProxyCommand sh ~/.ssh/workstation-startup.sh "<YOUR_WORKSTATION_NAME>" %h %p # Change to your workstation name
We use the ProxyCommand directive to run our script. Don’t forget to put your workstation name in!
💡 Why are we using the StrictHostKeyChecking and UserKnownHostsFile directives?
The SSH host keys change whenever we start our workstation. This means that if we don’t use the above directives, the below warning pops up, and we won’t be able to connect to the workstation.
@@@@@@@@@@@@@@@@@@@@@@@@@@@@@@@@@@@@@@@@@@@@@@@@@@@@@@@@@@@
@    WARNING: REMOTE HOST IDENTIFICATION HAS CHANGED!     @
@@@@@@@@@@@@@@@@@@@@@@@@@@@@@@@@@@@@@@@@@@@@@@@@@@@@@@@@@@@
IT IS POSSIBLE THAT SOMEONE IS DOING SOMETHING NASTY!
Someone could be eavesdropping on you right now (man-in-the-middle attack)!
It is also possible that a host key has just been changed.
As we are starting a TCP tunnel on localhost, we can safely use the StrictHostKeyChecking and UserKnownHostsFile directives, and ignore the above warning.
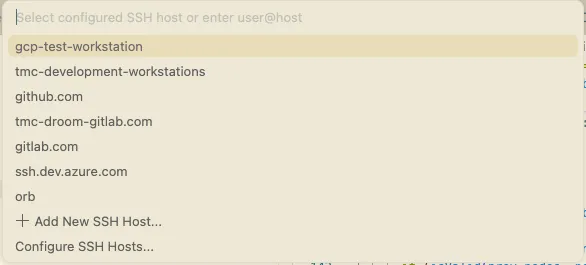
Step 3: Start and connect to the workstation
We can now start and connect to the workstation in one simple step! Just select the SSH host you’ve added earlier (gcp-test-workstation ), and the editor will start the workstation, start the TCP tunnel and connect to the workstation.
Conclusion
Hey, you’ve made it this far!
As we’ve seen, Google Cloud Workstations are a really great solution for secure, replicable development environments. You can spend less time worrying about securing data or onboarding new team members!
Whether you like coding in your browser or on your local IDE, I hope this article has inspired you to try Google Cloud Workstations.
Happy coding!