はじめに
Google Cloud Next ’24 にて Cloud SQL for MySQL にて Embedding データを入れられるようになったというアナウンスが有りました。
https://cloud.google.com/sql/docs/mysql/work-with-vectors
そちらの検証をしていきたいと思います。
テーブル構造
| field名 | 説明 | カラム型 |
|---|---|---|
| id | 画像ID | VARCHAR(48) |
| path | GCS のパス | VARCHAR(256) |
| account_id | アカウントIDとのリレーション | VARCHAR(48) |
| embedding | ベクトルデータ | VECTOR(1408) USING VARBINARY |
| field名 | 説明 | カラム型 |
|---|---|---|
| id | アカウントID | VARCHAR(48) |
| nickname | 名前 | VARCHAR(100) |
何が嬉しいのか
- 近しい意味での検索ができる
- 画像の場合は似たような画像の検索
- text の場合は似た意味合いの text の検索
- 例えば、 tag 検索など部分一致ではなく、意味検索になる
- MySQL だけでできるので SQL で Join ができる
- filter などの条件を既存のテーブルを使って行える
- Vector Search などでは表現できない条件を SQL で書くことができる
前準備
以下の用にして Vertex AI の利用ができるようにします
https://cloud.google.com/vertex-ai/generative-ai/docs/embeddings/get-multimodal-embeddings#prereqs
画像をベクトル化してみる(画像を Embedding する)
Google Cloud には画像や動画を Embedding してくれるモデルがあります。
こちらの画像は imagen2 に作成してもらった猫です。そのままモデルに投げます。
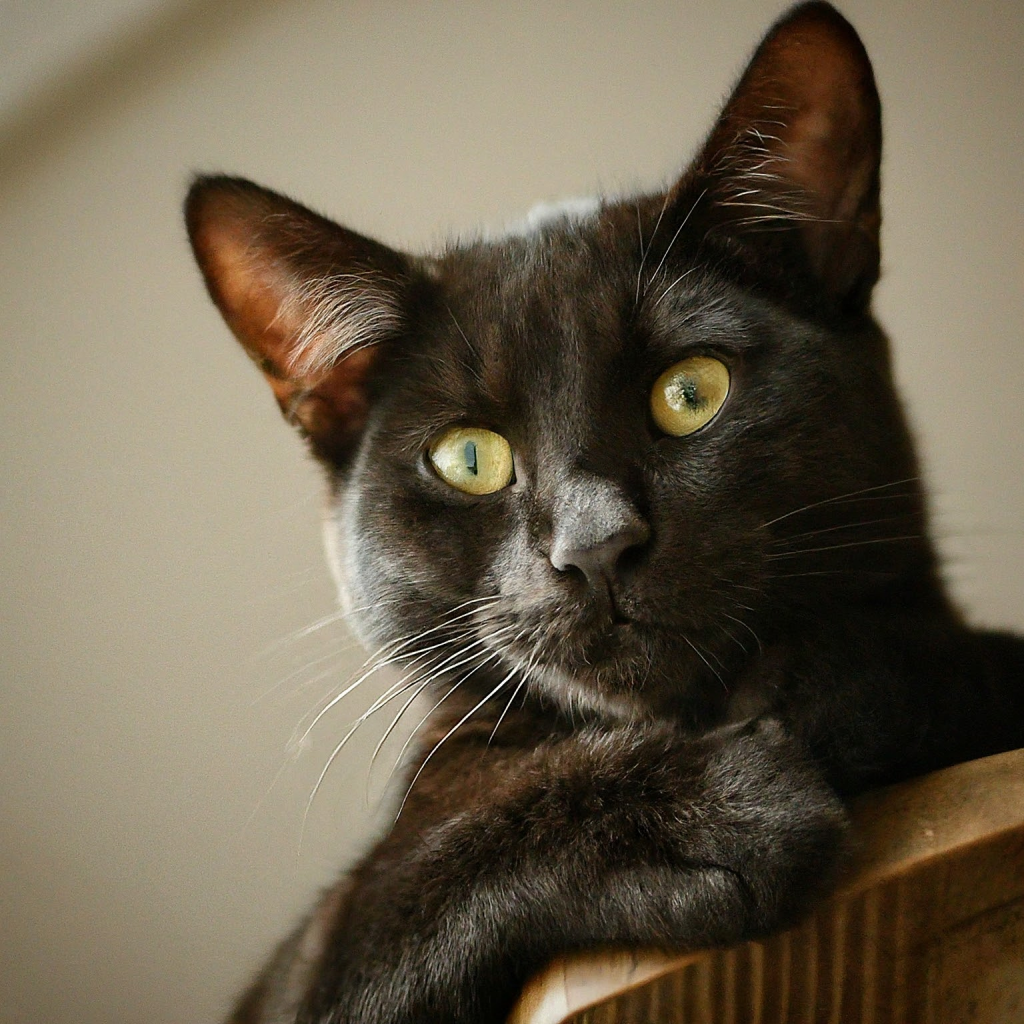
利用方法は画像を base64 して、request.json に埋め込み Vertex AI の API に投げます。
{
    "instances": [
        {
            "image": {
                "bytesBase64Encoded": "$(上記画像を base64 した文字列)",
                "mimeType": "image/png"
            }
        }
    ]
}
curl -X POST -i -d @request.json -H "Content-Type: application/json" -H "Authorization: Bearer $(gcloud auth print-access-token)" https://$GCP_LOCATION-aiplatform.googleapis.com/v1/projects/$GCP_PROJECT_ID/locations/$GCP_LOCATION/publishers/google/models/multimodalembedding:predict結果は以下のように帰ってきます。
HTTP/2 200
content-type: application/json; charset=UTF-8
vary: X-Origin
vary: Referer
vary: Origin,Accept-Encoding
date: Sat, 20 Apr 2024 10:04:46 GMT
server: scaffolding on HTTPServer2
cache-control: private
x-xss-protection: 0
x-frame-options: SAMEORIGIN
x-content-type-options: nosniff
alt-svc: h3=":443"; ma=2592000,h3-29=":443"; ma=2592000
accept-ranges: none

{
  "predictions": [
    {
      "imageEmbedding": [
        -0.014759507,
        ..., (1400 ぐらいのfloat数値がある)
        0.00477412
      ]
    }
  ]
}
この imageEmbedding の配列値が Embedding の値になります。
API の制限や画像の要件などは以下のとおりです。
Cloud SQL for MySQL のインスタンスを作成する
保存先の Database を作成します。
Cloud SQL for MySQL を組み立てますが、メモリでいくつか注意があります
Cloud SQL は、ベクトル検索インデックスをメモリ内に構築して維持します。
TREE_SQインデックス タイプは、クリーン シャットダウン時に保持され、インスタンスの再起動後に再読み込みされます。実行時には、すべてのベクトル検索インデックスをメモリ内に保持する必要があります。
そのため、メモリがとても重要ということになります。そのメモリの計算は以下のようになると書かれています
各次元が 4 バイトのメモリを使用する float で表される場合、dataset_size は次のように決定できます。
dataset_size = <num_embeddings> * (4 * <dimensions>)768 次元の埋め込みが 100 万個ある場合、dataset_sizeは 3 GB になります。
先ほど作成したものはデフォルトで 1408 次元のベクトルになりますので、レコード数を考えながらキャパシティプランニングすることになるかと思います。
今回は、10000件程度でとりあえず最小値の 1GB でよいでしょう。
Cloud SQL はサンプルとして以下のように作成します。 cloudsql_vector と cloudsql_vector_max_mem_size がポイントです。また、今回のベクトル検索の機能は MySQL バージョン 8.0.36.R20240401.03_00 以降ということなのでマイナーバージョンもきちんと指定します。指定しない場合、デフォルトのバージョンが使われ、想定しないバージョンになってしまいます。
gcloud sql instances create sample-instance --database-version=MYSQL_8_0_36 --cpu=1 --memory=4GB --region=$GCP_LOCATION --root-password=$(password) --project=$GCP_PROJECT_ID --database-flags=cloudsql_vector=on,cloudsql_vector_max_mem_size=1073741824https://cloud.google.com/sdk/gcloud/reference/sql/instances/create
https://cloud.google.com/sql/docs/mysql/work-with-vectors#example-ann-index-query
試しに Cloud SQL にテーブルを作って insert/ select してみる
Cloud SQL Auth Proxy を使って作成した SQL にアクセスします。
./cloud-sql-proxy $GCP_PROJECT_ID:$GCP_LOCATION:sample-instanceデータベースとテーブルを作成します。以下テーブル作成の SQL などは Gemini に書いてもらいました。
CREATE DATABASE sample;

CREATE TABLE Image (
    id VARCHAR(48) NOT NULL,
    path VARCHAR(256) NOT NULL,
    account_id VARCHAR(48) NOT NULL,
    embedding VECTOR(1408) USING VARBINARY,
    PRIMARY KEY (id),
    FOREIGN KEY (account_id) REFERENCES Account(id)
);
CREATE TABLE Account (
  id VARCHAR(48) NOT NULL,
  nickname VARCHAR(100) NOT NULL,
  PRIMARY KEY (id)
);
テーブルへの insert は以下のようになります。string_to_vector でいれる文字は必ず1行でカンマ区切りで配列になっている必要があります。
INSERT INTO Account (id, nickname)
VALUES (
  uuid(),
  'john'
);

INSERT INTO Image (id, path, account_id, embedding)
SELECT
  uuid(), /* 新しい画像 ID を設定 */
  '/image/path.png', /* GCS のパスを設定 */
  'account-id', /* アカウント ID を設定 */
  string_to_vector('[最初に取得したベクトルデータ]'); /* ベクトルデータを設定 */
実際にテーブルから近しい画像を select するには以下のようになります。
SELECT id, path, account_id, cosine_distance(embedding,string_to_vector('[他のベクトルデータ]')) dist
FROM Image ORDER BY dist limit 1;
cosine_distance はベクトルの距離計算の関数です。近いものを取得するということを行っています。
cosine_distance は同じ Dimension (今回でいうと 1408 )のベクトルでしか評価できません。他の Dimension の場合は以下のようなエラーが出ます。
ERROR 9010 (HY000): Unable to calculate vector distance Reason: input vector dimensions must be same
以下のような NEAREST 関数を利用する事もできます。
SELECT id, path, account_id FROM Image WHERE NEAREST(embedding) TO (string_to_vector('(他の値)'));NEAREST を利用する場合はベクタ検索用の index を作成しておく必要があります。先ほどインスタンス作成時に計算していたものです。
CALL mysql.create_vector_index('vectorIndex', 'sample.Image', 'embedding', 'index_type=BRUTE_FORCE, distance_measure=L2_SQUARED');第4引数のパラメータは以下のように決まっています。今回はそこまでデータ量が無いので、
- index_type: BRUTE_FORCE
距離計測方法については以下になります
- distance_measure: L2_SQUARED
https://cloud.google.com/sql/docs/mysql/work-with-vectors#index-parameters
今回は、こちらの性能差については詳しく言及しませんが、レコード数が多くなるような場合NEAREST を利用するほうが index が利用されるため性能は良さそうです。
+----+-------------+-------+------------+------+---------------+------+---------+------+------+----------+----------------+
| id | select_type | table | partitions | type | possible_keys | key  | key_len | ref  | rows | filtered | Extra          |
+----+-------------+-------+------------+------+---------------+------+---------+------+------+----------+----------------+
|  1 | SIMPLE      | Image | NULL       | ALL  | NULL          | NULL | NULL    | NULL |    1 |   100.00 | Using filesort |
+----+-------------+-------+------------+------+---------------+------+---------+------+------+----------+----------------+
+----+-------------+-------+------------+-------+---------------+---------+---------+-------+------+----------+-------+
| id | select_type | table | partitions | type | possible_keys | key | key_len | ref | rows | filtered | Extra |
+----+-------------+-------+------------+-------+---------------+---------+---------+-------+------+----------+-------+
| 1 | SIMPLE | Image | NULL | const | PRIMARY | PRIMARY | 194 | const | 1 | 100.00 | NULL |
+----+-------------+-------+------------+-------+---------------+---------+---------+-------+------+----------+-------+Spring Boot アプリケーションの作成
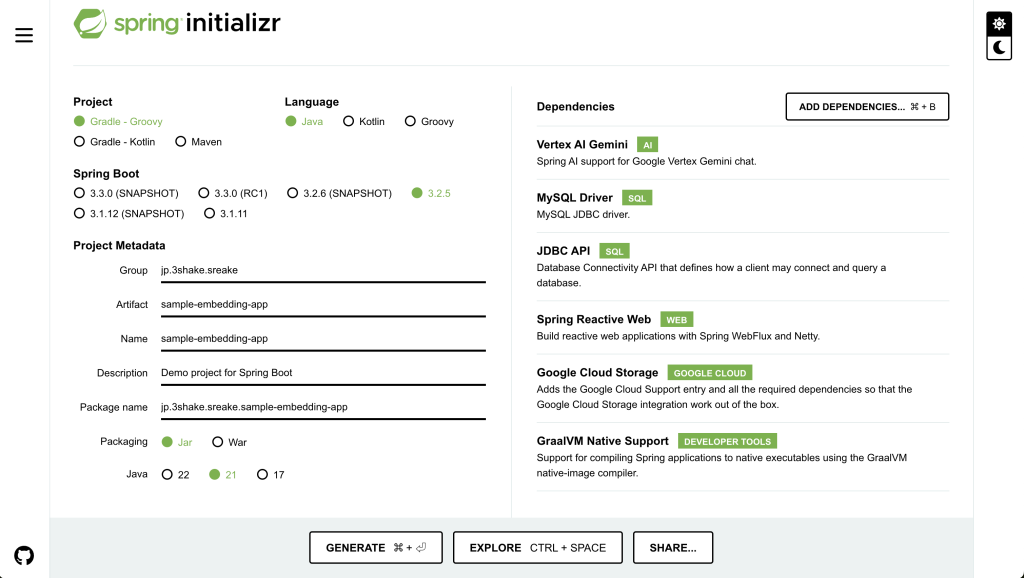
spring initializr を使ってアプリケーションを以下のようにして選択します。
今回は以下の Stack で実装をしていきます。
spring-ai-vertex-ai-gemini-spring-boot-starter を使って Gemini への問い合わせ
Gemini (Vertex AI)に接続するために、設定が必要です。
最低限では以下のように、 application.properties に追記が必要になります。
spring.ai.vertex.ai.gemini.projectId=${GCP_PROJECT_ID}
spring.ai.vertex.ai.gemini.location=${GCP_LOCATION}
spring.ai.vertex.ai.gemini.chat.options.model=gemini-pro-vision
その他の設定については別途、 ライブラリの設定情報を参照ください。
まず、 Gemini に接続をする部分を作成してみます。
package jp.shake.sreake.sampleembeddingapp.service;

import org.springframework.ai.chat.messages.UserMessage;
import org.springframework.ai.chat.prompt.Prompt;
import org.springframework.ai.vertexai.gemini.VertexAiGeminiChatClient;
import org.springframework.beans.factory.annotation.Autowired;
import org.springframework.stereotype.Service;

import reactor.core.publisher.Flux;

@Service
public class GeminiService {

    private VertexAiGeminiChatClient chatClient;

    @Autowired
    public GeminiService(VertexAiGeminiChatClient chatClient) {
        this.chatClient = chatClient;
    }

    public Flux<String> callGemini(String userMessage) {
        return chatClient.stream(new Prompt(new UserMessage(userMessage)))
            .map(res -> {
                if (res.getResult() == null || res.getResult().getOutput() == null || res.getResult().getOutput().getContent() == null) {
                    return "";
                }
                return res.getResult().getOutput().getContent();
            });
    }
}
今回 Stream で返却してほしいので Flux<String> で出力します
package jp.shake.sreake.sampleembeddingapp.controller;

import org.springframework.http.MediaType;
import org.springframework.web.bind.annotation.PostMapping;
import org.springframework.web.bind.annotation.RequestBody;
import org.springframework.web.bind.annotation.RestController;

import jp.shake.sreake.sampleembeddingapp.service.GeminiService;
import reactor.core.publisher.Flux;

@RestController
public class SampleController {
    private GeminiService geminiService;

    public SampleController(GeminiService geminiService) {
        this.geminiService = geminiService;
    }

    @PostMapping(path = "/chat", produces = MediaType.TEXT_EVENT_STREAM_VALUE)
    public Flux<String> chat(@RequestBody UserMessage message) {
        return geminiService.callGemini(message.userMessage);
    }

    public record UserMessage (String userMessage) {}
}
以下のように stream で出力されると思われます。
$ curl -X POST -d '{ "userMessage": "桃太郎の文章を改変して3000文字で出力してください" }' -H "Content-Type: application/json" <http://localhost:8080/chat>
data:昔々、

data:とある村に、お爺さんとお婆さんが住んでいました。お婆さんは川で洗濯をしていると、大きな桃が

data:流れてきました。
data:
data:お爺さんとお婆さんは桃を家に持ち帰り、ナイフで切ってみると、なんと中から元気な

data:男の子が出てきました。男の子は桃太郎と名付けられ、すくすくと成長しました。
data:
data:ある日、桃太郎は村人から鬼ヶ島に鬼がいて、村を荒らしていることを聞きました。桃太郎は鬼退治を決意し、お爺さんとお

data:婆さんから黍団子をもらって出発しました。
data:
data:桃太郎は森の中を歩いていると、犬に出会いました。黍団子を分け与えると、犬は桃太郎に付き従いました。その後、猿と

data:キジにも黍団子を分け与え、3匹を仲間に加えました。
data:
data:4人は鬼ヶ島に向かって旅を続けました。途中、大きな川に出くわしましたが、キジが空を飛んで向こう岸まで渡りました。犬が泳いで渡り、

data:猿がロープを張って桃太郎とお爺さんとお婆さんを引っ張って渡りました。
data:
data:鬼ヶ島に到着すると、桃太郎たちは鬼の巣窟に突入しました。鬼たちは桃太郎たちを嘲笑いましたが、桃太郎は犬、猿、キジと一緒に勇敢に戦いました。
data:
data:犬は鬼をかみ

data:つき、猿は鬼の目を引っかき、キジは鬼の目を突きました。桃太郎は鬼の首領と対決し、ついに鬼退治に成功しました。
data:
data:桃太郎たちは鬼の宝物と首領の首を持って村に帰りました。村人たちは大喜びで桃太郎たちを迎えてくれました。
data:
data:桃太郎は村の英雄となり、お爺さんとお婆さんと犬、猿、キジと共に幸せに暮らしました

data:。そして、鬼ヶ島に鬼がいないことを確認するために、毎年節分には豆をまくようになりました。
curl で叩くと以下のようにエラーになる場合、 spring-ai-vertex-ai-gemini-spring-boot-starter の springAiVersion が 0.8.1 で Google Cloud のライブラリが 0.6 を参照しているが 0.8 を参照しようとしているからだと思われます。
java.lang.NoSuchMethodError: 'void com.google.cloud.vertexai.generativeai.GenerativeModel.setTransport(com.google.cloud.vertexai.Transport)'
        at org.springframework.ai.vertexai.gemini.VertexAiGeminiChatClient.createGeminiRequest(VertexAiGeminiChatClient.java:249) ~[spring-ai-vertex-ai-gemini-0.8.1.jar:0.8.1]
        at org.springframework.ai.vertexai.gemini.VertexAiGeminiChatClient.call(VertexAiGeminiChatClient.java:150) ~[spring-ai-vertex-ai-gemini-0.8.1.jar:0.8.1]
        at org.springframework.ai.chat.ChatClient.call(ChatClient.java:27) ~[spring-ai-core-0.8.1.jar:0.8.1]
        at jp.shake.sreake.sampleembeddingapp.service.GeminiService.callGemini(GeminiService.java:23) ~[main/:na]
なので、その場合は別途以下のようにバージョンを明示的に指定しましょう。
implementation 'com.google.cloud:google-cloud-vertexai:0.6.0'
これで単純な文章出力については実装できたと思います。
画像を upload → GCS + Embedding データの MySQL に投入
アプリケーションに機能を追加します。実装の流れとしては以下になります。
- Spring Boot アプリケーションでファイルを受け付ける
- ファイルを受け取ったら GCS へ upload する
- その時のパスを、DB に保存する
2~3 の部分は先程の geminiService で実装します。
今回 Database Access用のライブラリには JdbcTemplate を利用します。Spring Data でも他のライブラリでもよいかと思いますが、vector の値の扱いが難しくなるため、それならば SQL がそのままかけて、わかりやすいものを利用しています。
Spring Boot アプリケーションでファイルを受け付ける
Spring WebFlux で複数画像ファイルを受け取れるようにするには以下のような controller を用意します。
    @PostMapping(path = "/upload", consumes = MediaType.MULTIPART_FORM_DATA_VALUE)
    public void fileUpload(@RequestPart("files") List<FilePart> files) throws IOException {
        files.forEach(file -> {
            DataBufferUtils.join(file.content()).map(dataBuffer -> {
                byte[] bytes = new byte[dataBuffer.readableByteCount()];
                dataBuffer.read(bytes);
                DataBufferUtils.release(dataBuffer);
                return bytes;
            }).subscribe(data -> {
                geminiService.uploadFile(List.of(new EmbeddingImage(file.filename(), data)));
            });
        });
    }
このあたりはおまけですので、軽く見ておいていただければという感じです
画像を Embedding する
現在、Spring AI の Vertex AI ライブラリには画像を Embedding する機能がありません。
そのため、自前でサンプルを元に Embedding するサービスを作成します。
package jp.shake.sreake.sampleembeddingapp.service;

import java.io.IOException;
import java.nio.charset.StandardCharsets;
import java.util.ArrayList;
import java.util.Base64;
import java.util.List;
import java.util.Map;

import com.google.cloud.vertexai.api.EndpointName;
import com.google.cloud.vertexai.api.PredictResponse;
import com.google.cloud.vertexai.api.PredictionServiceClient;
import com.google.cloud.vertexai.api.PredictionServiceSettings;
import com.google.gson.Gson;
import com.google.gson.JsonObject;
import com.google.protobuf.InvalidProtocolBufferException;
import com.google.protobuf.Value;
import com.google.protobuf.util.JsonFormat;

public class VertexEmbeddingService {
    final EndpointName endpointName;
    final PredictionServiceClient predictionServiceClient;
    final Map<String, Object> parameters;

    public VertexEmbeddingService(
            String project,
            String location,
            String publisher,
            String model,
            Map<String, Object> parameters) throws IOException {
        final String endpoint = String.format("%s-aiplatform.googleapis.com:443", location);
        final PredictionServiceSettings predictionServiceSettings = PredictionServiceSettings.newBuilder()
                .setEndpoint(endpoint).build();
        this.endpointName = EndpointName.ofProjectLocationPublisherModelName(project, location, publisher, model);
        this.predictionServiceClient = PredictionServiceClient.create(predictionServiceSettings);
        this.parameters = parameters;
    }

    // 画像とテキストのリストを embedding する
    public List<Embedding> embedding(List<InputPrompt> inputPrompts) {
        if (inputPrompts.isEmpty()) {
            return new ArrayList<>();
        }
        List<Value> instances = new ArrayList<>();

        inputPrompts.stream().map(i -> {
            JsonObject jsonInputPrompt = new JsonObject();
            if (i.imageBytes() != null) {
                // Convert the image to Base64
                byte[] imageData = Base64.getEncoder().encode(i.imageBytes());
                String encodedImage = new String(imageData, StandardCharsets.UTF_8);
                JsonObject jsonImage = new JsonObject();
                jsonImage.addProperty("bytesBase64Encoded", encodedImage);
                jsonInputPrompt.add("image", jsonImage);
            }
            if (i.textPrompt() != null) {
                jsonInputPrompt.addProperty("text", i.textPrompt());
            }
            jsonInputPrompt.addProperty("", "");
            return jsonInputPrompt;
        }).forEach(v -> {
            try {
                Value pValue = stringToValue(v.toString());
                instances.add(pValue);
            } catch (InvalidProtocolBufferException e) {
                e.printStackTrace();
            }
        });

        try {
            Gson gson = new Gson();
            String gsonString = gson.toJson(parameters);
            Value parameterValue = stringToValue(gsonString);

            PredictResponse predictResponse = predictionServiceClient.predict(endpointName, instances, parameterValue);
            List<Embedding> predictions = new ArrayList<>();
            predictResponse.getPredictionsList().stream().forEach(p -> {
                p.getStructValue().getFieldsMap().forEach((k, v) -> {
                    List<Double> textEmbedding = new ArrayList<>();
                    List<Double> imageEmbedding = new ArrayList<>();
                    if (k.equals("textEmbedding")) {
                        textEmbedding = v.getListValue().getValuesList().stream().map(Value::getNumberValue).toList();
                    }
                    if (k.equals("imageEmbedding")) {
                        imageEmbedding = v.getListValue().getValuesList().stream().map(Value::getNumberValue).toList();
                    }
                    Embedding e = new Embedding(textEmbedding, imageEmbedding);
                    predictions.add(e);
                });
            });
            return predictions;
        } catch (InvalidProtocolBufferException e) {
            return new ArrayList<>();
        }
    }

    // protobuf.Value に変換する
    Value stringToValue(String value) throws InvalidProtocolBufferException {
        Value.Builder builder = Value.newBuilder();
        JsonFormat.parser().merge(value, builder);
        return builder.build();
    }

    public record InputPrompt(String textPrompt, byte[] imageBytes) {}
    public record Predictions(List<Embedding> predictions, String deployedModelId) {}
    public record Embedding(List<Double> textEmbedding, List<Double> imageEmbedding) {}
}
Embedding メソッドでは、text または画像があれば Embedding します。API に投げるパラメータは先ほど画像を Embedding したものと同じです。
https://cloud.google.com/vertex-ai/generative-ai/docs/model-reference/multimodal-embeddings?hl=ja
Embedding したデータを DB に保存する
controller からわたってきた画像データを GCS にupload しそのデータを Embedding する関数になります。 先程の insert の SQL と同じようにデータを入れていきます。
注意点として Java の Double.ToString をおこなってしまうと指数が入る可能性があるため BigDecimal にしておく必要があります。
    public record EmbeddingImage(String fileName, byte[] fileBytes) {}

    // 画像を GCS に upload して embadding したデータを DB にいれる
    public void uploadFile(List<EmbeddingImage> images) {
        Flux.fromIterable(images)
            .delaySequence(java.time.Duration.ofSeconds(1))
            .map(image -> {
                System.out.println(image.fileName);
                String ext = Arrays.asList(image.fileName.split("\\.")).getLast();
                String id = UUID.randomUUID().toString();
                String accountId = "アカウントID";
                String path = "images/" + accountId +  "/" + id + "." + ext;

                try {
                    uploadFileToGCS(path, image.fileBytes, "バケット名");
                } catch (IOException e) {
                    // sample なのでこのパターンは握りつぶす
		    e.printStackTrace();
		}
                List<Double> embedding = this.embeddingClient.embedding(
                    List.of(new InputPrompt(null, image.fileBytes))
                ).stream().findFirst().map(Embedding::imageEmbedding).orElse(new ArrayList<>());
                Image i = new Image(id, path, accountId, embedding);
                return i;
            }).collectList()
            .doOnNext(list -> {
                jdbcTemplate.batchUpdate(
                    "INSERT INTO Image (id, path, account_id, embedding) VALUES (?, ?, ?, string_to_vector(?))",
                    list,
                    100,
                    new ParameterizedPreparedStatementSetter<Image>() {
                        public void setValues(PreparedStatement ps, Image argument) throws SQLException {
                            ps.setString(1, argument.id());
                            ps.setString(2, argument.path());
                            ps.setString(3, argument.accountId());
                            String e = argument.embedding().stream().map(v -> BigDecimal.valueOf(v).toPlainString()).collect(Collectors.joining(","));
                            ps.setString(4, String.format("[%s]", e));
                        }
                    }
                );
            })
            .subscribe();
    }

    // ファイルをアップロードする
    public void uploadFileToGCS(String fileName, byte[] fileBytes, String bucketName) throws IOException {
        Storage storage = StorageOptions.getDefaultInstance().getService();

        BlobId blobId = BlobId.of(bucketName, fileName);
        BlobInfo blobInfo = BlobInfo.newBuilder(blobId).build();

        storage.create(blobInfo, fileBytes);
        System.out.println("File " + fileName + " uploaded to bucket " + bucketName + " as " + fileName);
    }
多くの画像が入ってきても対応できるようにしています。これは各 Google Cloud プロジェクト 1 分あたりの最大 API リクエスト数に制限があるため念の為の措置です。公式ドキュメントには 120 とありましたが、私のプロジェクトでは 300 になっておりました。

もし、それ以上に利用したい場合は、Quota 上限を調整してください。
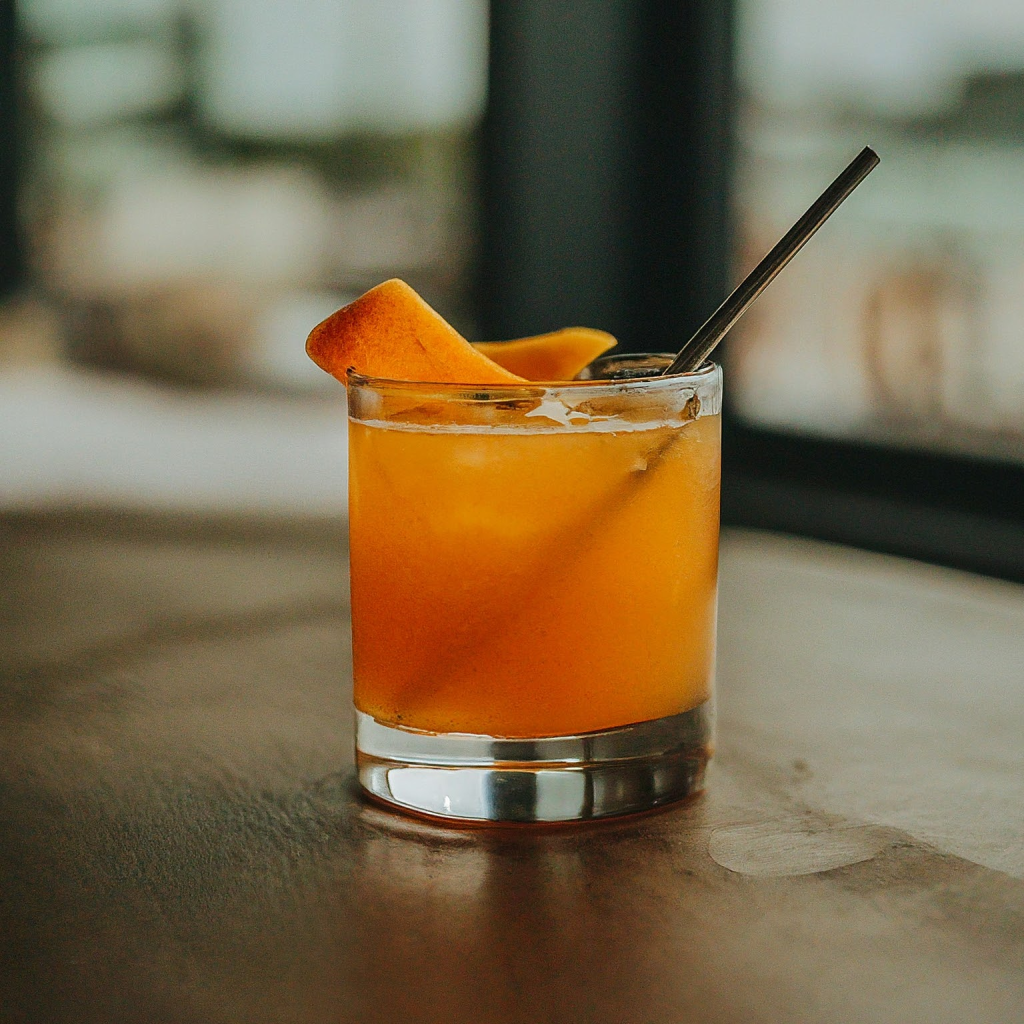
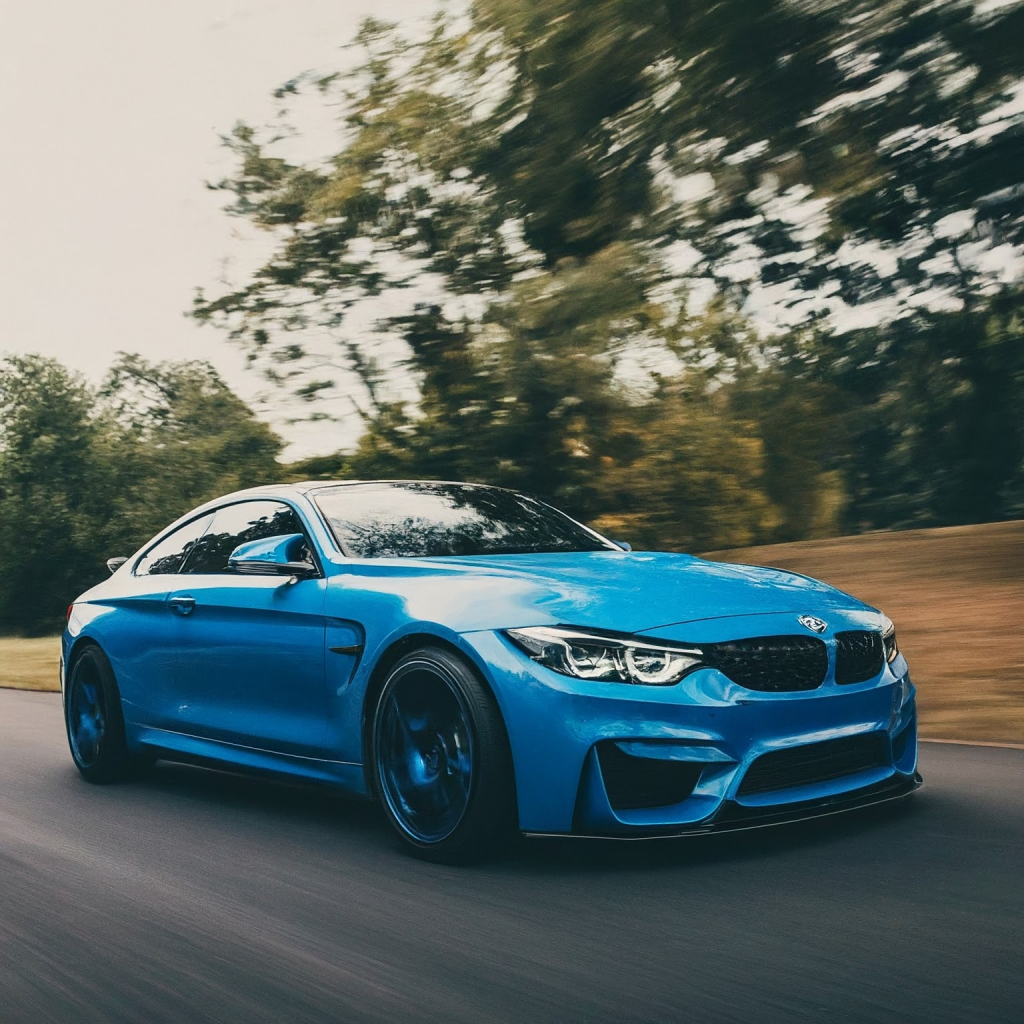
画像をインターネットから持ってきて持ってきても良いのですが、せっかくなので、生成 AI に作ってもらいます。Imagen2 の画像を利用してテストデータを作成して upload してみます。
Python で書くと以下のようになります。「うさぎ」と「森」と「車」というそれぞれのプロンプトに基づいて画像を作成して、アプリケーションに upload しています。
import vertexai
from vertexai.preview.vision_models import ImageGenerationModel
import requests
import os

project_id = os.getenv("GCP_PROJECT_ID")
location = os.getenv("GCP_LOCATION")

# prompt は英語で入力する(日本語がうまく反映されなかったため
prompts = [
    {"name": "rabbit", "prompt": "Anime-style rabbit playing in the mountains"},
    {"name": "forest", "prompt": "forest landscape painted in oil"},
    {"name": "car", "prompt": "blue sports car"},
]

vertexai.init(project=project_id, location=location)


def upload_files(url, files):
    """
    requestsを使って複数ファイルを一括でアップロードする関数

    Args:
        url: アップロード先のURL
        files: アップロードするファイルの辞書 {ファイル名: バイナリデータ}
    """
    response = requests.post(url, files=files)
    print(response.status_code)
    print(response.text)


file_data = []

for p in prompts:
    model = ImageGenerationModel.from_pretrained("imagegeneration@006")
    for i in range(5):
        images = model.generate_images(
            prompt=p["prompt"],
            number_of_images=1,
            language="en",
            aspect_ratio="1:1",
            person_generation="allow_adult",
        )

        file_name = "img/" + p["name"] + f"{i}.png"
        images[0].save(location=file_name, include_generation_parameters=False)

        with open(file_name, 'rb') as f:
            data = f.read()
        file_data.append(['files', [file_name, data, 'image/png']])

        print(f"Generated image saved to {file_name}")

upload_files('http://localhost:8080/upload', file_data)
例えば、こんなデータが作成されています。


この処理を使ってテストデータを Embedding していきましょう。
検索をする
データが入ったらそれを検索できるようにします。controller は前回とほぼ同じのため省きます。
とはいえ、取得するコードも以前のものから SQL が異なるだけです。
    // 画像ファイルから似ている画像のパスを取得する
    public Flux<String> list(byte[] fileBytes) {
        List<Double> embedding = this.embeddingClient.embedding(
            List.of(new InputPrompt(null, fileBytes))
        ).stream().findFirst().map(Embedding::imageEmbedding).orElse(new ArrayList<>());

        String e = embedding.stream().map(v -> BigDecimal.valueOf(v).toPlainString()).collect(Collectors.joining(","));
        return Flux.fromStream(jdbcTemplate.queryForStream(
            """
                SELECT
                  id,
                  path,
                  account_id as accountId,
                  embedding
                FROM
                  Image
                WHERE
                  NEAREST(embedding) TO (string_to_vector(?), ?)
            """,
            new DataClassRowMapper<>(Image.class),
            String.format("[%s]", e),
            "num_neighbors=" + 5
        ).map(v -> {
            return v.path();
        }));
    }
これで近似の5件取得することができます。
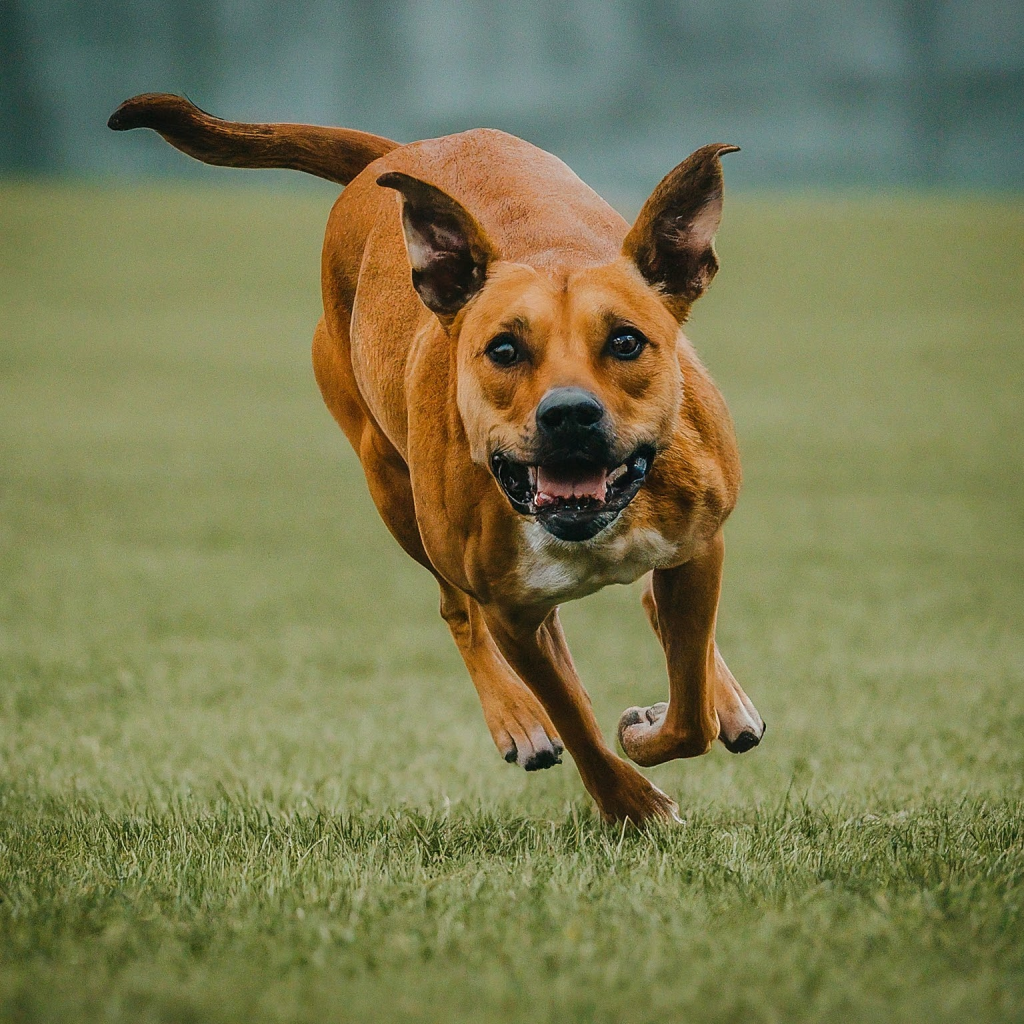
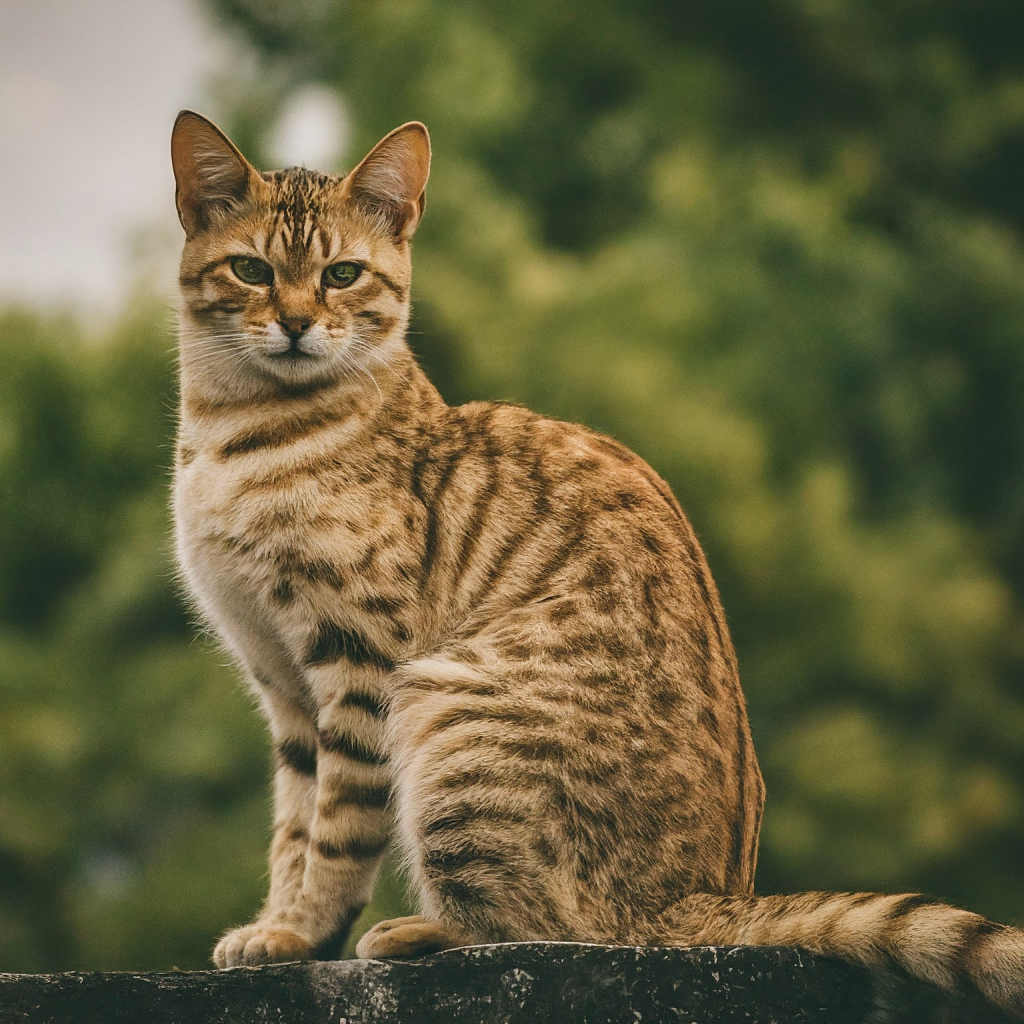
input:

output:(左から順番に)

とはいえ、これだと順番が保証されません(=猫が一番最初に来ない)。そのため KNN という手法の関数を利用して順番を保証します。
現状L2_SQUARED, COSINE, DOT_PRODUCT という関数が用意されています。
https://cloud.google.com/sql/docs/mysql/work-with-vectors#query-distance
以下のようになります
        return Flux.fromStream(jdbcTemplate.queryForStream(
            """
                SELECT
                  id,
                  path,
                  account_id as accountId,
                  embedding,
                  cosine_distance(embedding, string_to_vector(?)) dist
                FROM
                  Image
                WHERE
                  NEAREST(embedding) TO (string_to_vector(?), ?)
                ORDER BY
		  dist
	    """,
            new DataClassRowMapper<>(Image.class),
            String.format("[%s]", e),
            String.format("[%s]", e),
            "num_neighbors=" + 5
        ).map(v -> {
            return v.path();
        }));
一度近似で出した後に順番を並べるという感じですね。とはいえ、NEAREST では近傍検索には offset のようなものは使えないため、ページングには少し向いていないと思われます。
実装すると以下のように順番が変わってきます。猫や動物が先に来ているようには見えます。
input:
output:(左から順番に)
個人的には、動物つながりで、先程のうさぎが入っていると思ったのですが、画像としては、アニメようなタッチのものは距離が近くないとして認識されているかもしれません。
Account テーブルと join して検索する
先程の list の関数だとすべてのデータから取得することになりますが、要件によっては Account テーブルと Join することを求められると思います。その際には以下の注意点があります
NEAREST を使った場合 where の順番にかかわらず NEAREST が先に評価されます。
The
NEAREST..TOpredicate can be combined with other “scalar” predicates by using AND or OR. The scalar predicates on the table are evaluated after the vector predicates are applied.
NEAREST はサブクエリには対応していないため、join をすることは難しいです
Subqueries aren’t supported with
NEAREST..TO. A constraint can’t be added to the primary key of the base table if a vector search index is present.
そのため、order by dist limit 10 のような形で filter します。
例では以下のようになります。このパターンであれば limit..offset が使えます。
        return Flux.fromStream(jdbcTemplate.queryForStream(
            """
                SELECT
                  Image.id as id,
                  Image.path as path,
                  Image.account_id as accountId,
                  Image.embedding as embedding,
                  cosine_distance(Image.embedding, string_to_vector(?)) dist
                FROM Image
                JOIN Account on Account.id = Image.account_id
                WHERE
                  Account.id = ?
                ORDER BY dist
                  limit ? offset ?
	    """,
            new DataClassRowMapper<>(Image.class),
            String.format("[%s]", e),
            accountId, // 適当なアカウントID
            5, // 取得件数
            5
        ).map(v -> {
            return v.path();
        }));
もちろん数が多いと計算コストがかかるので、 where でどれぐらい絞れるのかなどをあらかじめ測り、チューニングする必要があります。
まとめ
Spring Boot アプリケーションにて Google Cloud の生成 AI の利用を行うことができます。
今回はテキスト生成と、Embedding による近似画像の取得を行いました。
画像とは言わずとも、タグなどの検索に意味検索を取り入れるなどでサービスのUX向上に繋げられればとは思います。
とはいえ MySQL でのこのような検索は Cloud SQL For MySQL でしか現状できないようです。そのため、制約も多く実サービスに利用するとなるとまだまだ先になるかと思います。例えば、以下のようにある通り、1テーブルに1000万件を超えることは厳しいようです。
https://cloud.google.com/sql/docs/mysql/work-with-vectors
テーブルに保存できるベクトル埋め込みの数に厳密な制限はありませんが、ベクトル検索インデックスにはメモリが必要です。このため、テーブルに保存するベクトル埋め込みは 1,000 万個以下にすることをお勧めします。
そのため、実際に意味検索を取り入れるのであれば、他の Database 例えば、Alloy DB の検討をしても良いかもしれません。
https://cloud.google.com/alloydb/docs/ai/work-with-embeddings